
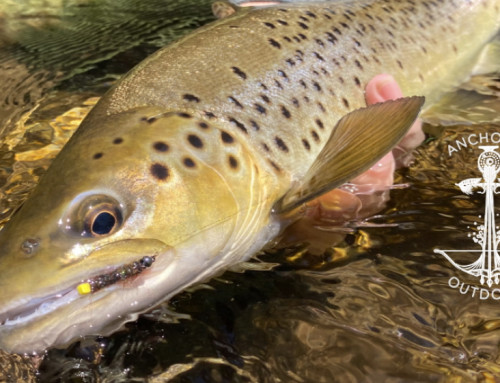
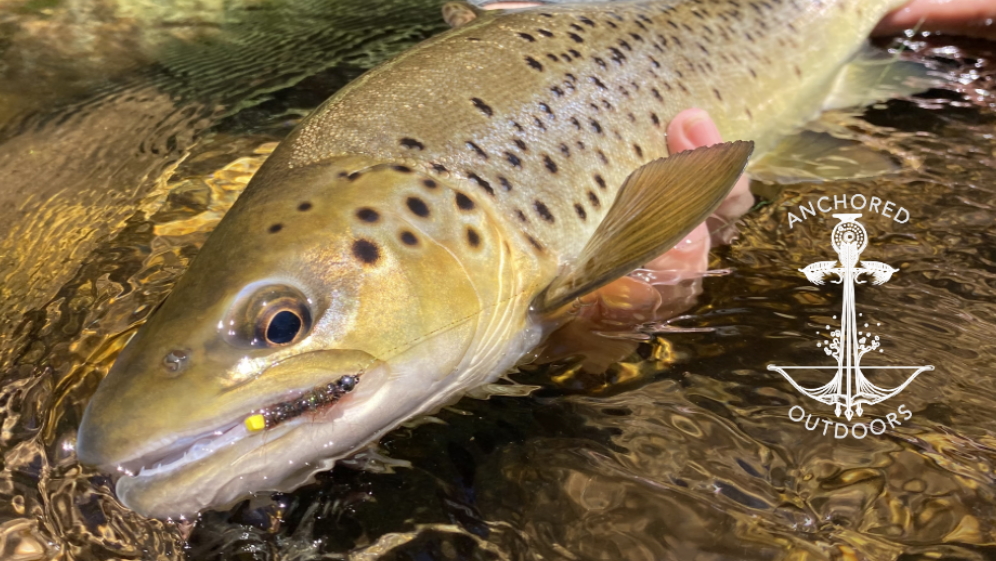
As the weather here in Victoria slowly starts to swing into a belated Autumn, it comes to that time of year where we all start focusing more on hatch based fishing and we have to slowly let go of the joy of bold terrestrial smashing fish. So, what better time to get behind the vice, given that it’s Good Friday and the rivers will be swamped with eager fishermen, and get cracking on some extra emerger patterns to fill the box for the come weeks’ hatches. So, I’m starting off with one of my favourite, easy-to-tie emerger patterns that floats a treat and gets the attention of the fish too.
Getting right into it, I’ve flattened the barb on a Dohimoto 101 flat eye hook and taken thread wraps down the length of the hook shank with olive UTC 70 denier UltraThread, bringing the thread back to somewhere just past the tip of the hook.

Next, I take four short lengths of green crystal flash and tie these down along the full length of the hook shank. In doing so, you need to leave enough of the mylar extending from the rear to create a tail and a little extra at the eye of the hook so it can be brought back to form the legs later in the tying process.

I then bring the thread back the the rear of the hook shank and tie in a short length of green wire, to be used for the rib.

Now, I form a thin dubbing noodle with Hareline Dubbin’s BWO Superfine dubbing.

This is then brought forward, about four fifths of the way to the eye of the hook. I always start with very little dubbing on the thread and build it up as is needed, slowly creating a slight taper up the length of the body.

Now, the wire rib is brought forward in even wraps to be tied off at the same point as where the dubbing ends.

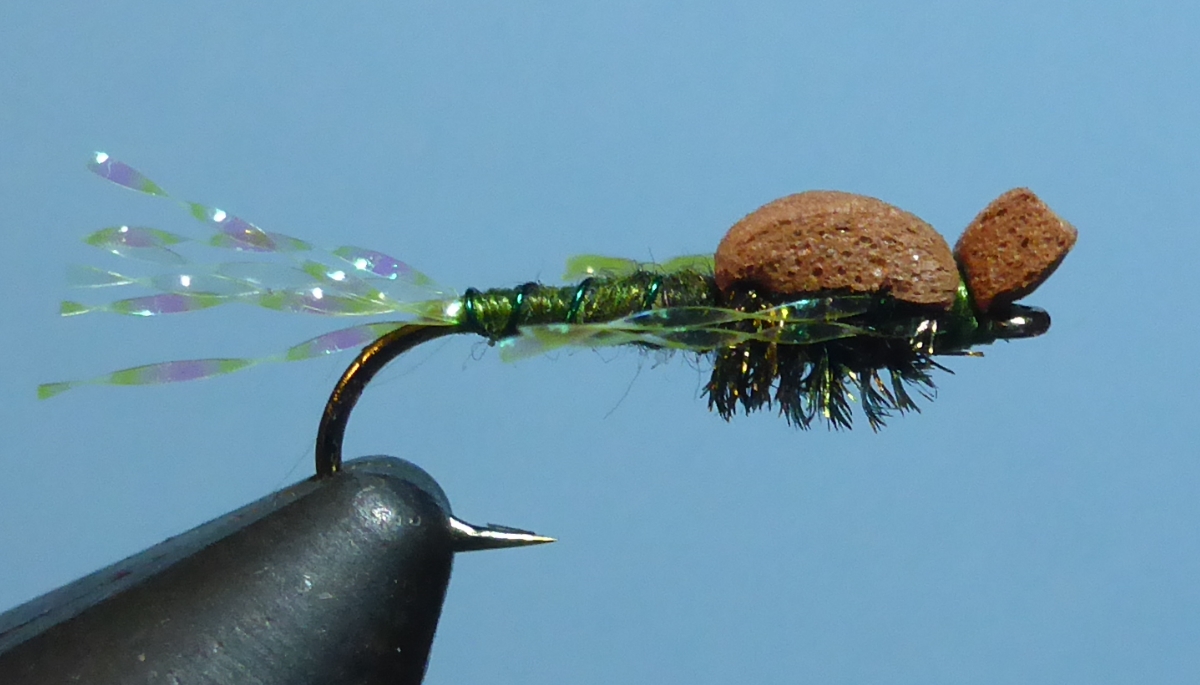
With the tag end of the wire pressed down flat, not like you will see in the next picture, tie in a small length of brown foam. I us 2mm thin tying foam for this, cut into a strip about 3 or 4mm wide, depending on the hook size.

After that is secured with just a few wraps of thread, I then add a single length of peacock hurl with a few extra wraps of thread to hold it in place.

The hurl is then wrapped back to the base of the foam and then brought forward to form the thorax of the fly. It is then tied off right before the eye of the h0ok.

Now, the mylar crystal flash that was left out the front of the fly is pulled back to form the legs. The four strands are split so that two run either side of the thorax and with a few thread wraps working back towards the body, they should hold in their final position, sitting at about a 30 degree angle away from the body.

With the legs in place, we’re almost done. The foam just needs to be pulled forward over the eye of the hook. Then a few thread wraps will hold it inn place and a quick whip finish under the foam around the eye of the hook itself will allow you to cut free the excess thread.

With the thread cut away, you just need to trim the foam and legs to finish the fly. I usually leave about 2mm of foam above the thread wraps to form a head on the fly. Then I trim the legs so that they end close to where the body ends and the tail begins. A small dab of head cement under the head where the thread is located will keep it all secure and ready to fish!

You can find the materials needed for this pattern in the Troutlore store. Links for these are all provided below.
MATERIALS USED:
Leave A Comment
You must be logged in to post a comment.